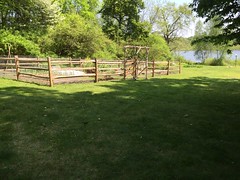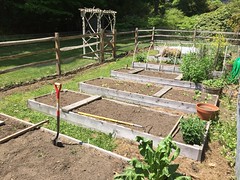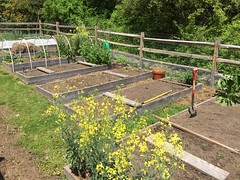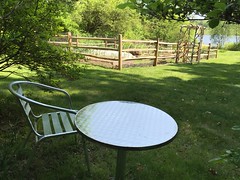
Showing posts with label my backyard garden. Show all posts

Friday, July 07, 2017

backyard garden

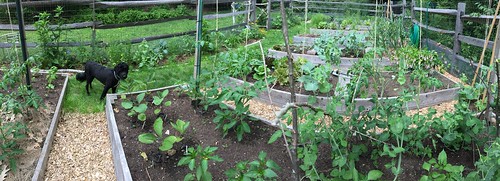
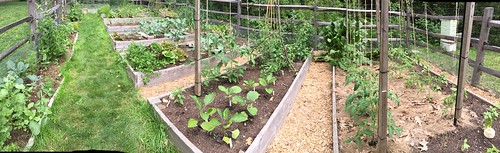
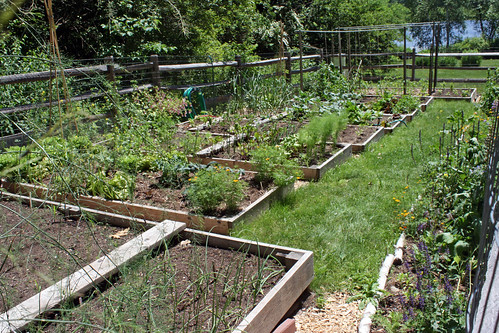
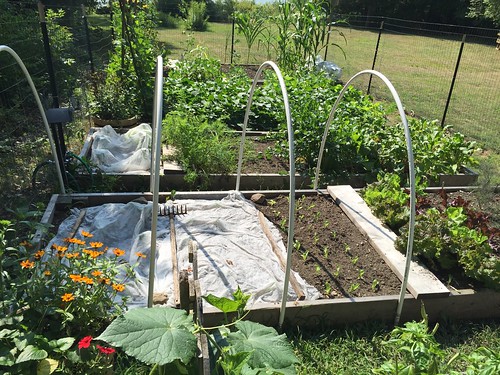
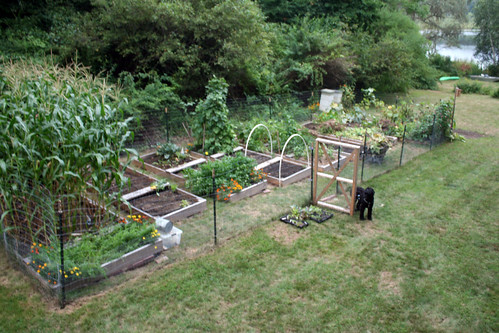
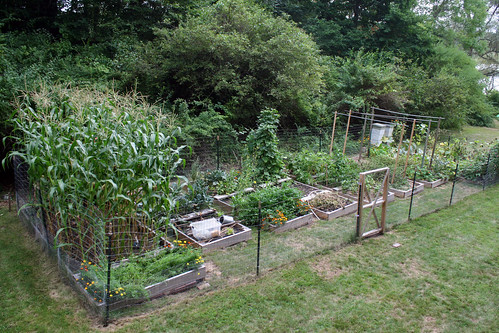
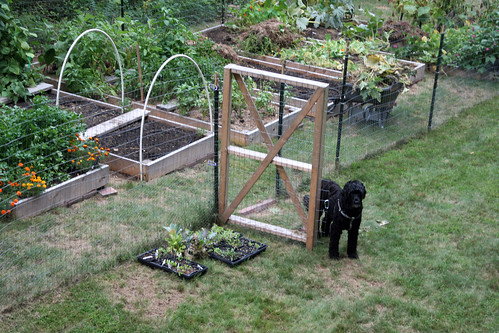
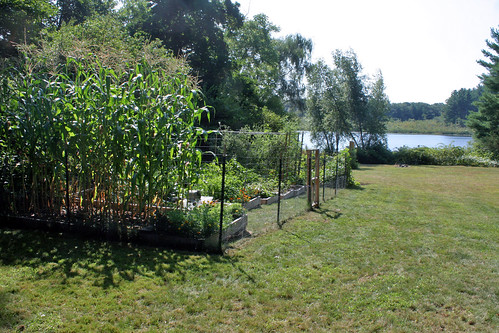
I used my cell phone for panorama photos of my backyard garden. It would be really cool to have curved raised beds like these photos.

backyard garden panorama IMG_1384
backyard gaden panorama IMG_1382

Thursday, June 22, 2017

spring in my backyard garden

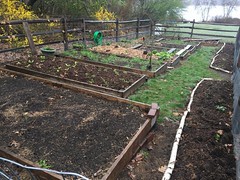
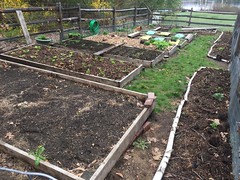
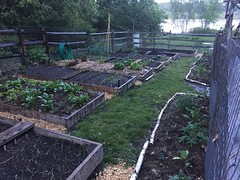
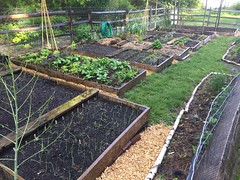
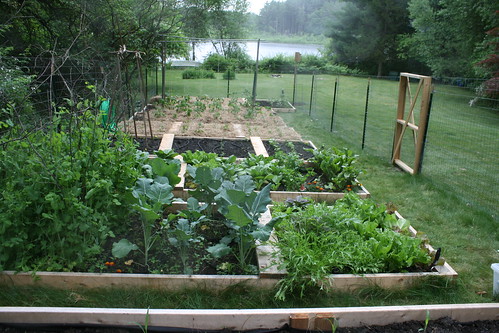
I haven't posted many of my photos recently, so I'm putting together some collections. This is my backyard garden from early April until yesterday. Spring.

backyard garden 2017-04-02 backyard garden 2017-04-21 backyard garden 2017-04-27 backyard garden 2017-05-18 backyard garden 2017-05-21 backyard garden 2017-06-21

By the end of summer, there won't be any dirt showing.

Wednesday, June 21, 2017

summer!

My backyard garden on the first day of summer.

first day of summer IMG_6840
(The summer solstice 2017 in Northern Hemisphere was at 12:24 AM EST on Wednesday, June 21.)

Thursday, January 12, 2017

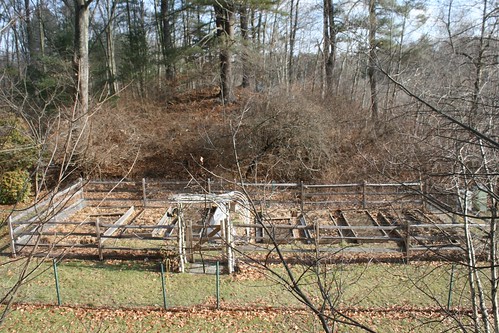
"aerial" garden photo

I was able to get an aerial view of my "new" garden. (Actually not so new any more - this is it's 4th year.)

aerial from ladder IMG_6538C

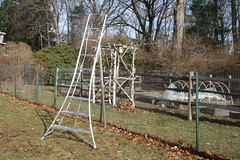
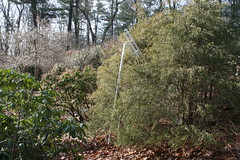
My husband gave me a beautiful new pruning ladder for Christmas. I was able to place it at the top off the slope to the west of the garden and shoot a photo though the branches. I'd like to follow my garden through the year from one location. I wish I could get up a bit higher, but this is the top of the slope. Not as good as my old viewpoint from the second floor right above the garden. Maybe I can find a tree to climb with this new ladder...

new prining ladder IMG_6540 new pruning ladder IMG_6554

My new ladder is tall enough for me to prune our overgrown bushes. My guess is the bushes in the photo on the right are a variety Chamaecyparis pisifera Threadleaf False Cypress. Maybe ‘King’s Gold’. They'll look better if they are thinned out, shorter, and fuller.

These photos are quite a contrast to the ones I posted last. We've had two rain storms and weather in the 60's! All of our snow is gone - replaced by mud. I opened up my winter tunnel to give it some fresh air. There are some nice bok choi that I can harvest soon.

Wednesday, December 14, 2016

winterized garden

backyard garden IMG_6129

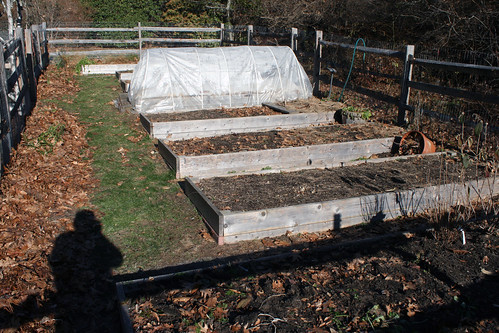
Here's a photo of my garden taken 4 day ago. It looks about the same today but with a thin dusting of snow and some ice in places. The winter tunnel covers are up, perennials by the fence and some garlic near the tunnel are mulched with leaves or hay. The pots are turned on their sides, tools and hoses are in the shed. Most beds are empty, some have winter rye seed planted. The seed went in too late to sprout yet, but it will once it warms a bit. I tucked in four small bushes that I bought at a fall sale, I'll give them a permanent home in spring.

I haven't made it over to my community garden plot in a while. I hope I can get a picture of that garden sometime soon. I expect the winter rye is up in nice green carpets on the beds. My bed of garlic may have small spouts up an inch covered by a layer of salt march hay. Everything else is bare I imagine.

Tuesday, October 25, 2016

my garden in fall IMG_5903

The leaves on the beech trees in my back yard have turned to gold. The sun is rising and shining on them. My garden is still shaded in the lower left corner of the photo. It'll get sun soon.

Thursday, September 08, 2016

my garden today

my garden IMG_7746b

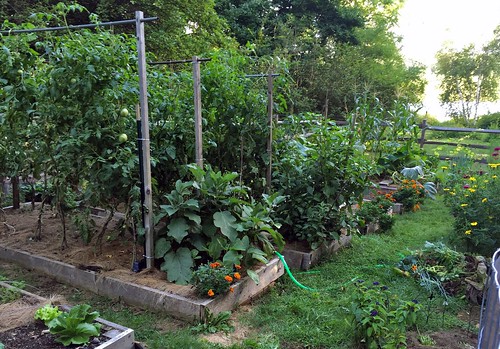
My garden is overgrown with all sorts of vegetables and flowers. I love it!!

My tomatoes are tall - 15 feet or so. Peppers, at least 5 feet tall. Squashes, watermelon, and beans are rambling all over. I'm harvesting, canning, and pickling almost every day. And weeding, staking, planting fall crops, and pulling past summer crops.

Gradually the summer is moving towards fall. We have temps of 90F coming tomorrow, but that seems like it may be our last hot day. Our nights are cooling off. All we need is a bit of rain. Hurricane Hermine brought us about 0.3 inches. Nice, but not really very much. I think we're still near 10 inches short here this year.

I think the dryness and heat have helped to make this a really good year for many vegetables - as long as we've been able to irrigate. My tomatoes are great and many other nearby gardeners tell me the same. Lots of big fruits and low amounts of fungal diseases. Also peppers, eggplants, melons, cukes, squashes and other warm weather vegetables are doing great.

Monday, August 31, 2015

my vegetable garden

garden panorama IMG_2865
I've been experimenting with ways to photograph my vegetable garden. Above is a "panorama photograph" using my i-phone. And below, a regular photo.

garden IMG_2875

Monday, September 01, 2014

late summer garden cleanup

garden after cleanup 9513 What a beautiful Labor Day weekend! Here's my new garden. I put a ladder out in the yard and did what I could to get a good perspective. Its hard to do as good as that second floor window over my garden that I used to have. But this new garden is awesome. Its teaching me all sorts of things about growing vegetables and getting a new garden up and going.

This weekend I pulled dead pea vines, spring broccoli plants, early bean plantings and about half of my cucumber and summer squash vines. I cut down and pulled out my tomato plants, which have been hit by late blight (I will bag up the infected plants, let them fry in the sun a while, then dispose of them in the trash so I don't risk overwintering of the pathogen). This cleanup has opened up lots of space for fall plantings. I have a few trays of seedlings that have been growing slow, but I will plant out and see how they do. I have also been able to find some nice fall seedlings at local garden stores.

Also, I am trying out some hoops. My husband is helping with these (actually, he's setting these up for me...). I would like hoops with row cover over any brassica plants I grow in this garden including my fall broccoli, kale and bok choi. Cabbage worms are very bad in this area, though they should die off as the fall approaches. I'd also like to try tunnels for winter growing.

Below is the "before cleanup" garden photo and a closer-up shot of my buddy, Skip.
garden before cleanup 9508 garden and skippy 9515

Thursday, June 12, 2014

vegetable garden by the pond

vegetable garden by the pond

Saturday, April 26, 2014

putting up garden fencing

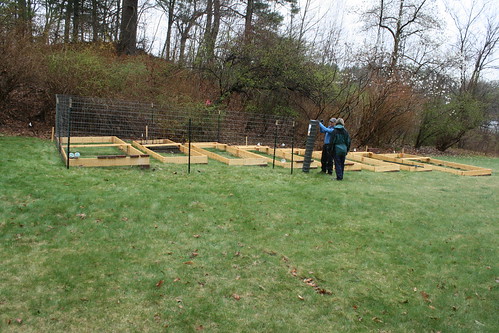
Copy of IMG_7523 A cold dreary April day. My husband and I put up fencing around the 3 raised beds that I'll be planting spring crops in soon.

For many of the posts, we ran into rock about 4 inches down. Seems maybe there's a layer of rocky fill down there.

Suzie and Skippy patiently watched and were soaked by the cold rain by the time we finished. They dug a good hole under the rhododendron for fun and played in the fresh mud. Now, its evening, and they are clean. They got ushered straight into a warm shower and had nice baths.

Saturday, March 29, 2014

the raised bed movie!

Here's another movie of my garden: Time lapse video of raised bed construction. Funny to see us running around and making 8 raised beds in 2 minutes....

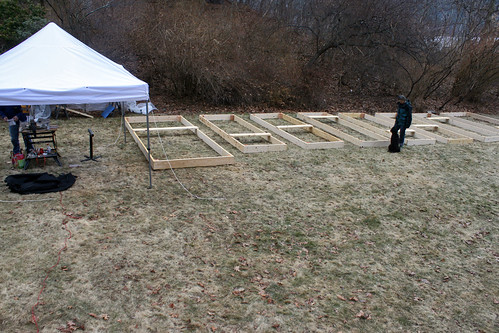
eight new raised bed frames

finished raised bed frames Yesterday my husband and I made eight raised beds for my new garden! Kind of a dreary late March day, but I am so happy seeing the beds all lined up! We made six 4x12 foot beds and two 6x15 foot beds.

To make the six 4x12 beds:
- We started with fifteen 2x8x12's, untreated pine.
- We brought a compound miter saw down to the garden area. (It was raining off an on so we used a canopy to keep it dry.
- To make the 4' edges, four boards were cut in thirds.
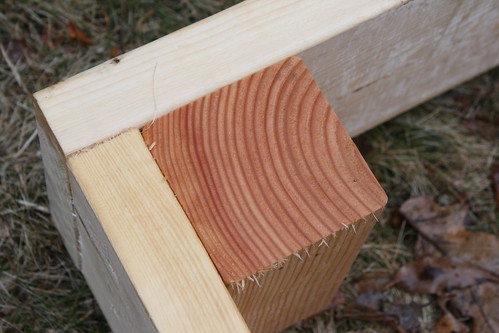
- To make 24 corner brackets, two 4x4x8 untreated fir beams were cut the width of the boards, 7.5 inches.
- We butted up the boards one edge at a time and attached them using wood screws.
- We then placed the 4x4 bracket beam piece in the corner and used self-threading lumber screws to securely attach from both sides.
- Then we placed the beds where we wanted them. We're still looking at the placement and it may take us a few days to get the positioning we want.
- Next steps, we will level the beds with brick at one edge since we are on a bit of a slope. Then we'll secure the beds in place by pounding in wood stakes on the outside of the beds, every 3 feet. Then we'll add DIRT and plant stuff!
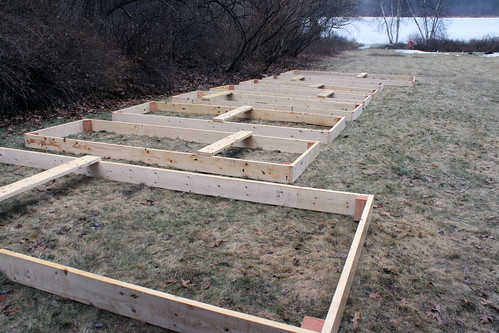
raised bed frames raised bed frames 2 raised bed corer IMG_6993 raised bed corner IMG_6991

Wednesday, March 26, 2014

scoping out sizes of new raised beds

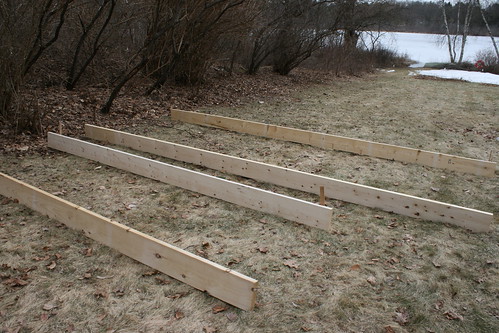
043 - scoping out sizes of new raised beds My husband and son carried the wood that will edge my new raised beds down to the site of my new garden. We then laid out a few pieces to see how the beds will look. My plan has six 4x12 foot beds and two 6x15 foot beds.
Tuesday, March 11, 2014

garden-to-be

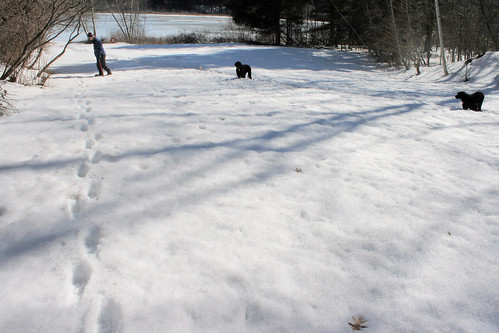
marking out garden-to-be 018 My husband and I shuffled through the snow to mark out the edges of my garden-to-be.
I'm getting prices for putting in nice fencing around the plot. I'd like 4 foot post and rail. I'll put some kind of wire netting behind it, like chicken wire, to keep the rabbits out. I'll dig it down 6 inches to keep the woodchucks out. Then probably an electric wire at the top (or a 6 foot extension of plastic fencing) to keep the deer out.

Alternatively, we've been thinking we may just go with light weight fencing and metal poles all around this year and put in the post and rail next year. That'll give me some time to see how the location and size work out before adding a permanent fence.

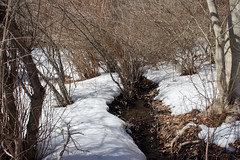
The snow is starting to disappear from some of the sunniest areas. The ground is showing along the little brook that runs behind may garden-to-be. Tomorrow, we have an inch of rain coming. Maybe that will melt more of our snow.

stream by garden-to-be 012 garden-to-be 007 new sprinkler head waiting by garden-to-be garden-to-be 019

Thursday, February 27, 2014

building raised beds

Raised beds serve several functions. They warm the soil by allowing the sun to warm the edges as well as the surface. They define areas for walking and planting so that planting areas don't get compacted by walking. And they define separate areas for different crops, allowing easier and more efficient preparation of soils for specific crops.

I'm thinking about raised beds now, and am cheered by seeing the big pile of boards for my new beds in my front yard (getting covered by snow soon I hear). I thought it would be fun to take a look at different types of raised beds. I've seen many creative options at our community garden. I've seen edges made of house siding, rocks, discarded pallets.

Raised beds my husband has previously built for me are fir or pine from a local store. We used 2 x 3’s, which a a bit low, but work fine. I'm looking forward to beds made from 2 x 6’s in my new garden. We don't use pressure treated, but you can if you prefer. It will last longer and the new pressure treating methods are not toxic like the older ones. You can also use cedar (if you can afford it). It will last longer than fir. My guess is the costs may balance out in the long run and the cedar will be less work as you need to replace less often. My fir beds are started to rot after 3 years and my husband is replaces one or two a year.

You can build beds with corner posts and then drive the corner posts into the soil and level the beds. Or you can do the reverse – drive in corner posts and then attach and leveled beds around them.

Here are some links that show bed design: http://www.homedepotgardenclub.com/us/en/landscaping/projects/how-to-build-a-raised-garden-bed?contentid=1142 http://carletongarden.blogspot.com/search/label/raised%20beds